
Share
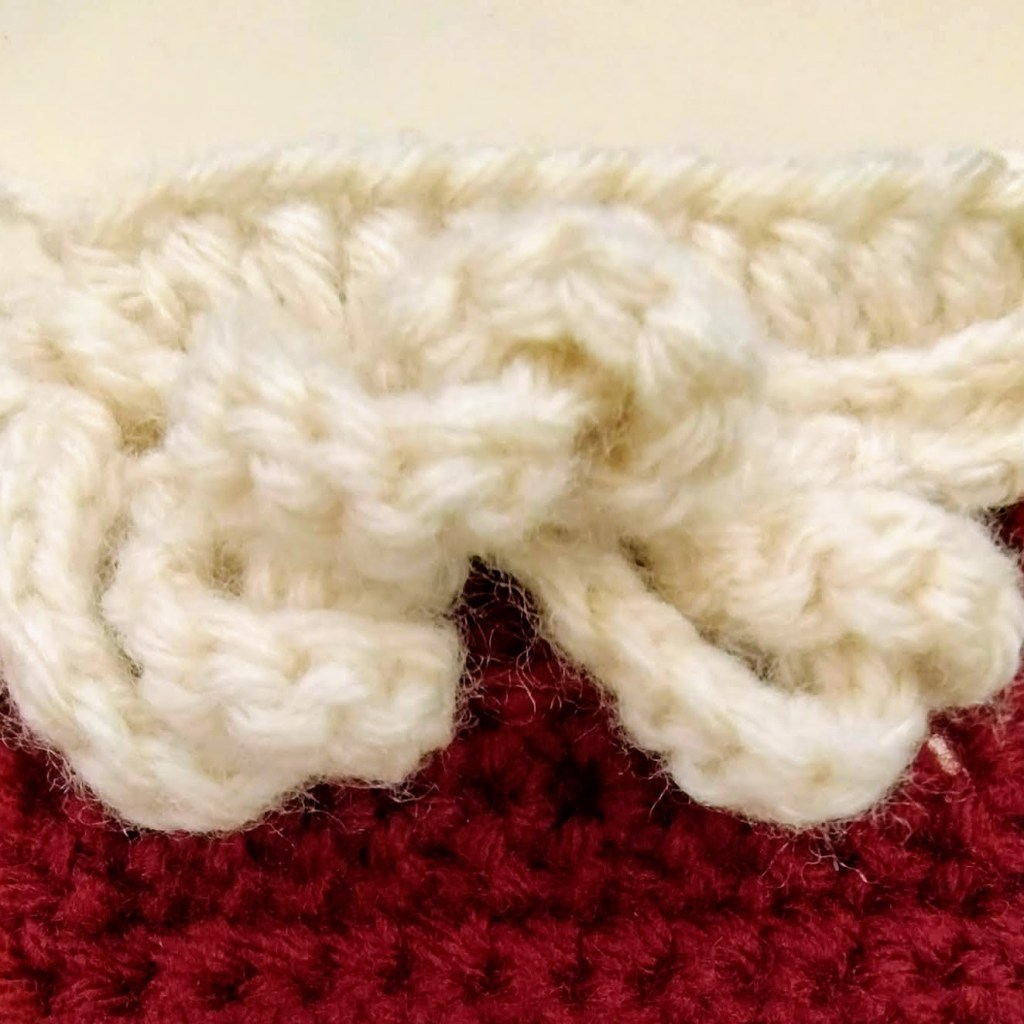
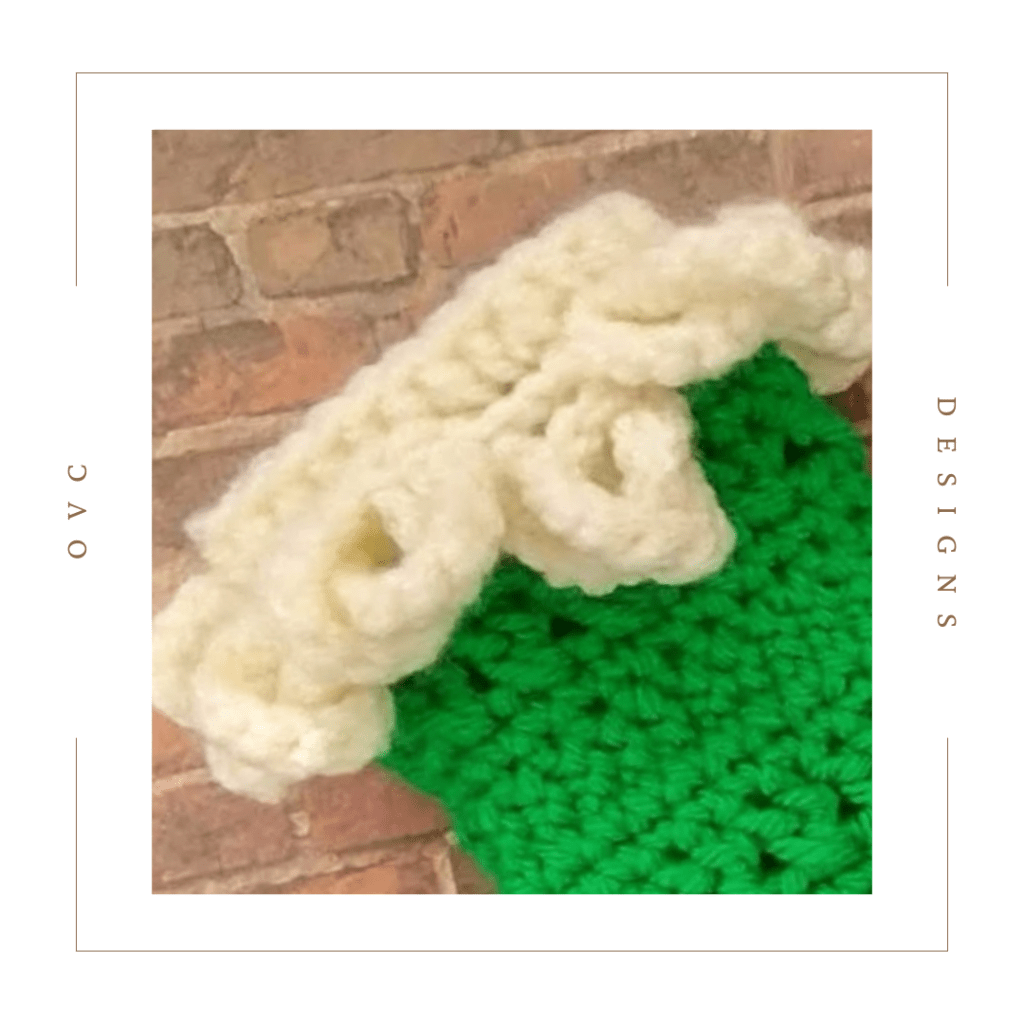
The Loopy Edging is whimsical addition to your crochet projects with its fun twisted interlocking loops.
In this crochet stitch step-by-step photo tutorial, you will learn how to make this fun loopy edging.
What is the Loopy Edging?
The Loopy Edging is a series of chains, slip stitched, joined and threaded through one another to create a twisted interlocking loop design. This stitch is a fun edging to add to your crochet projects. Learn how to crochet the Loopy Edging with this tutorial!

Subscribe to OVC Designs!
Get updates on the latest posts and more from OVC Designs straight to your inbox.
This Tutorial uses US crochet terminology.
Pin it to save this stitch tutorial for later:
How to make the Loopy Edging
Step 1: Ch 12, slip stitch in the 3rd chain from the hook and each remaining chain…10 total slip stitches.

Step 2: Slip stitch into the next stitch.

Step 3: Repeat steps 1 & 2.

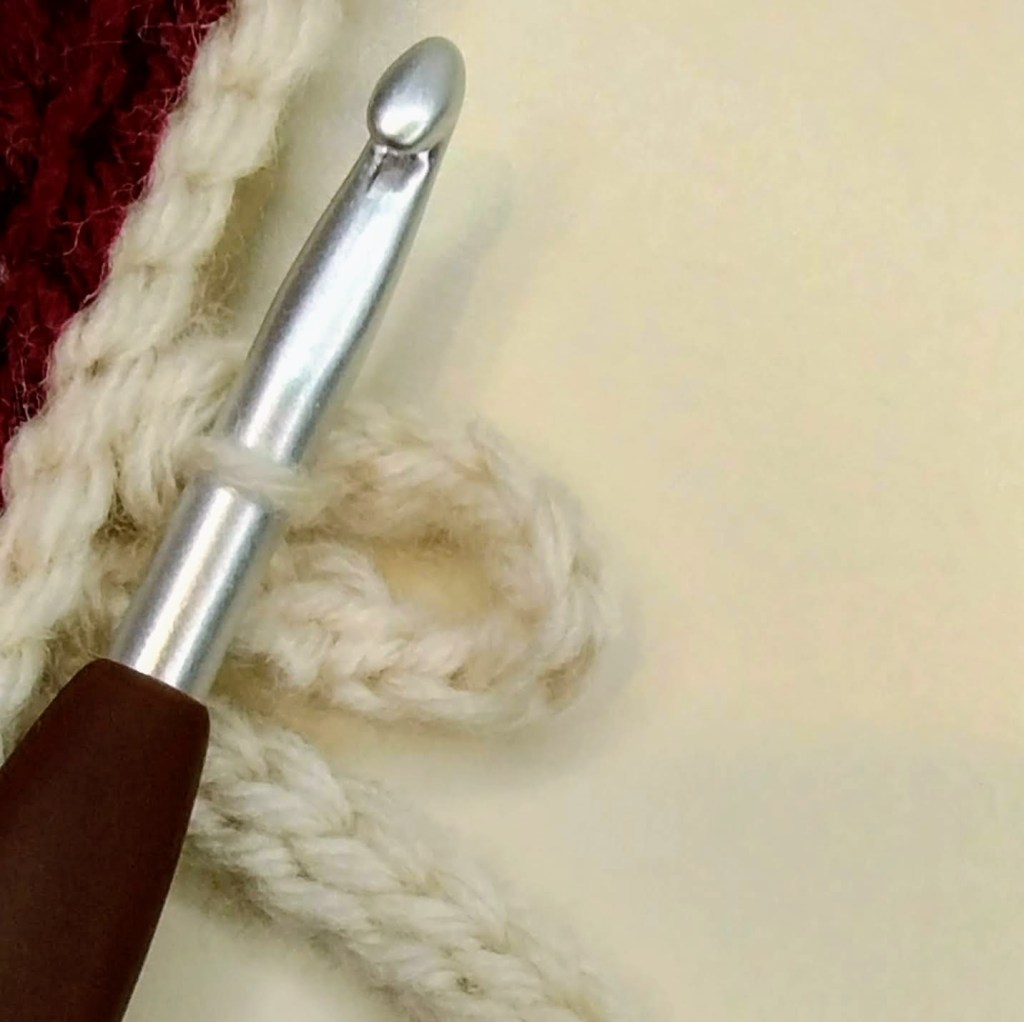
Step 4: Insert hook into ch-2 space of last chain worked.

Step 5: Slip stitch into bottom loop of next stitch and pull through all layers on hook.
Step 6: Insert hook through loop just made and into ch-2 space of first chain worked.

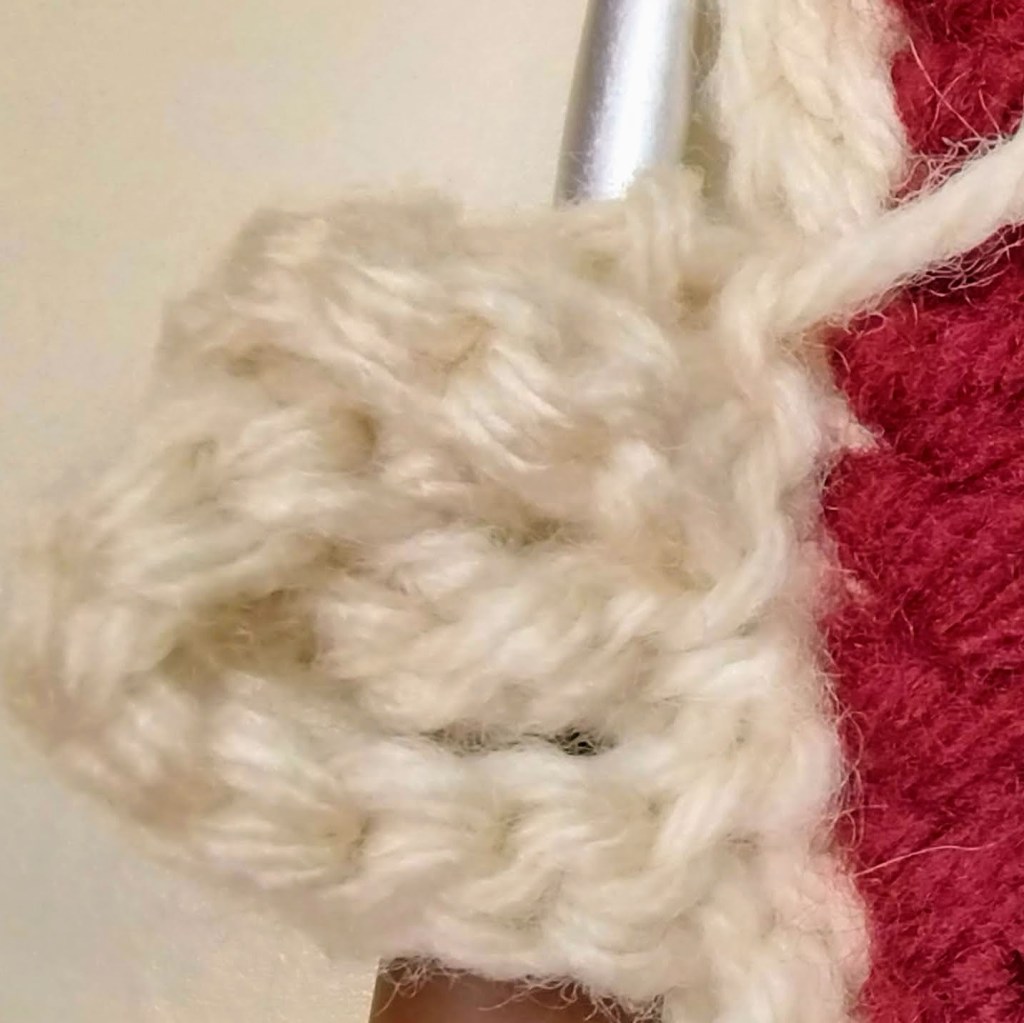
Step 7: Pull hook back through the loop, slip stitch into the next stitch and pull through all layers on hook.

Step 8: First loopy edge stitch completed.
Step 9: Repeat steps 1-8 to completed the row or round.

Congratulations! Pat yourself on the back because you just crocheted the Loopy Edging!
Subscribe to OVC Designs!
Get updates on the latest posts and more from OVC Designs straight to your inbox.
What to Make with this Stitch
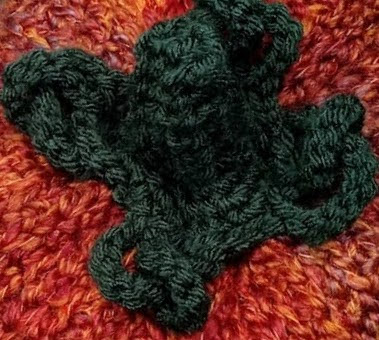
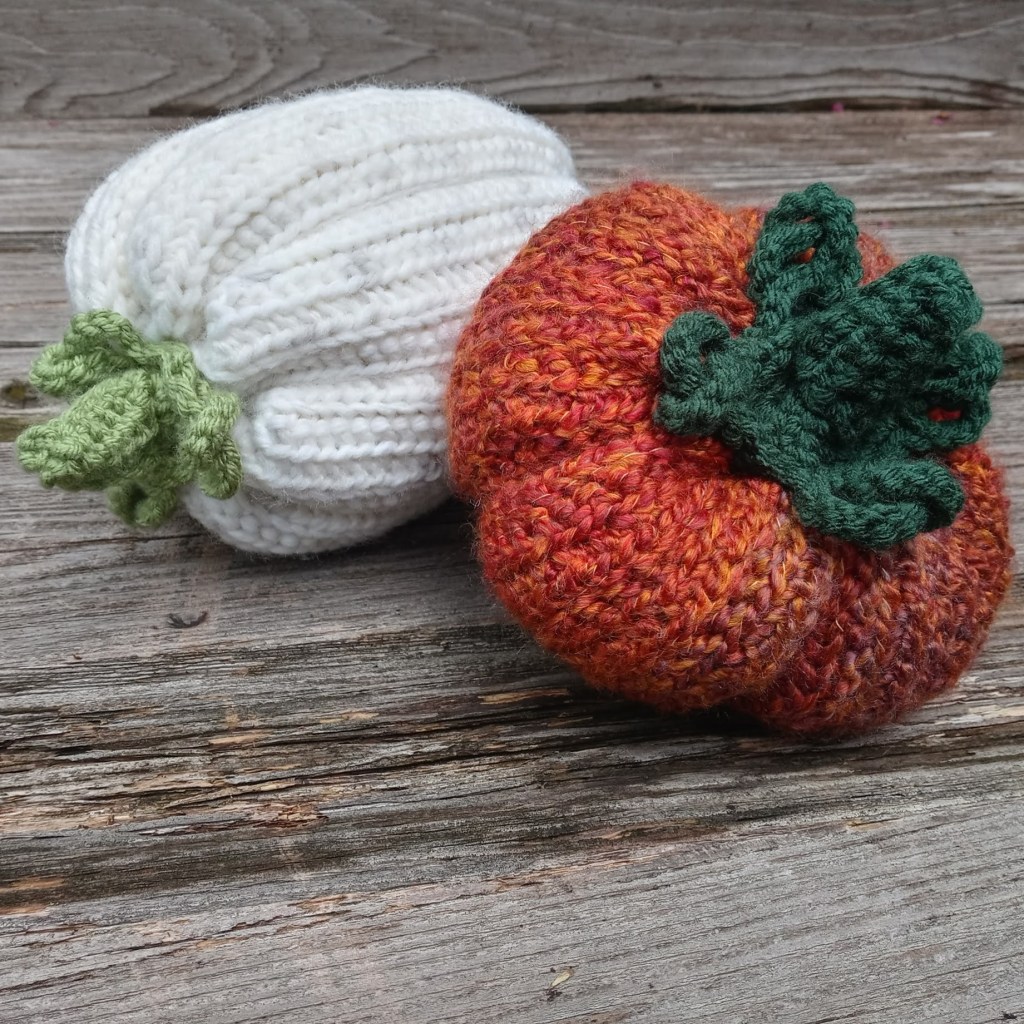
The Loopy Edging is a lovely stitch that creates fun twisted interlocking loops, adding fun visual interest to your crochet project.
I’ve made the Loopy Herringbone Pumpkin, the Loopy Purl Stocking and Mini Loopy Purl Stocking using the Loopy Edging.


For more pattern ideas check out my crochet patterns page.
Share
Until Next Time, Happy Yarning!
ETHY

Subscribe to OVC Designs!
Get updates on the latest posts and more from OVC Designs straight to your inbox.

Leave a comment