
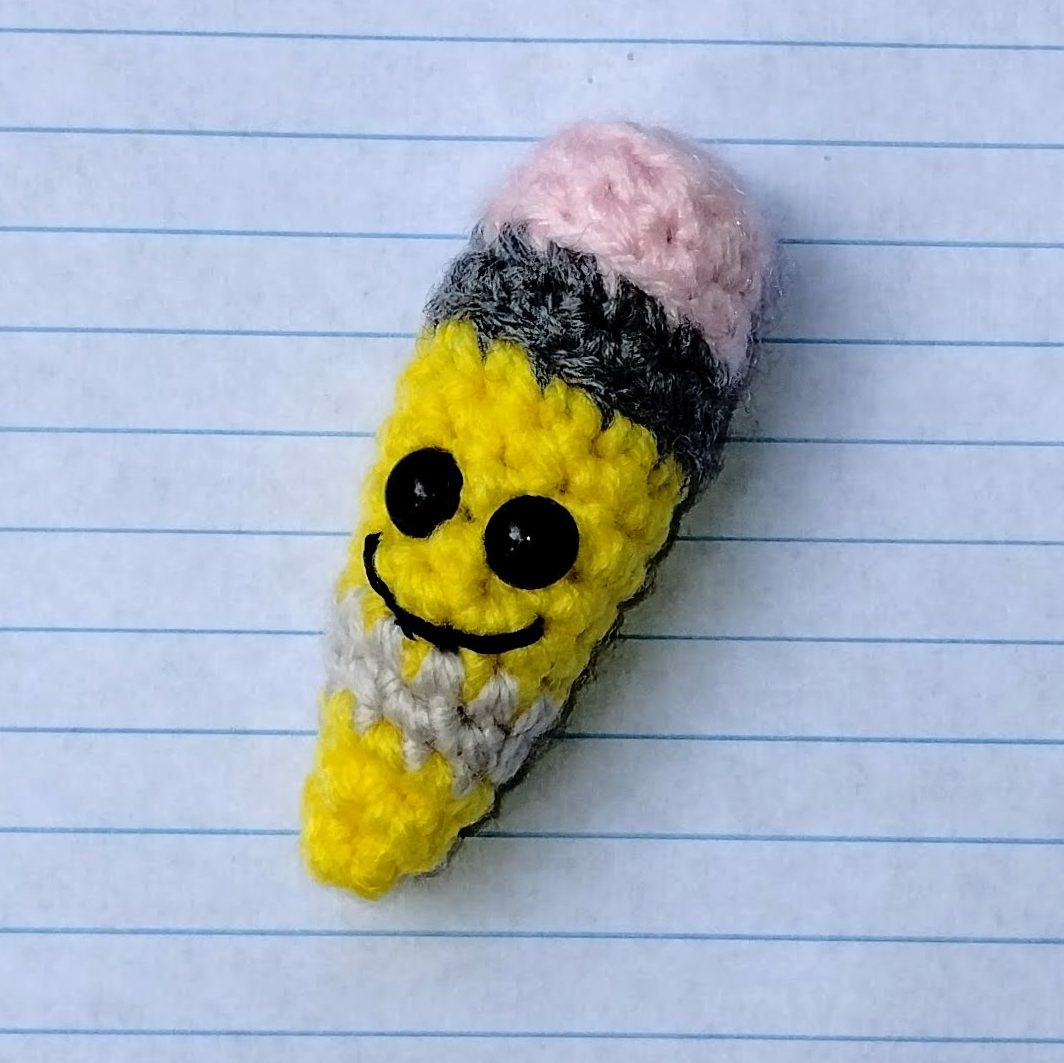
Meet Stubby! This amigurumi crochet pencil is a beginner friendly pattern and is pretty fun to be around. He is crocheted in the round with color changes worked in the back loop creating a more seamless color change.
Simply attach to a keyring and voile, you have a super cute keychain! Stubby will bring joy to your little ones face as they head back to school this fall and he makes a great teacher appreciation gift!
As always, an ad-free PDF is available in my Ravelry store, as well as, free here on my blog! Enjoy!
| Materials Yarn: Small amounts of worsted/aran (4) weight yarn in pink, grey, beige and main color of your choice 3.5 mm hook Polyfill stuffing Small Safety eyes x 2 (if using) Embroidery thread (if using) Scissors Needle Abbreviations MC: Magic Circle Rd(s): Round(s) St(s): Stitch(es) Slst(s): Slip Stitch(es) Sc: Single Crochet Scblo: Single Crochet in back loop only Inc: Increase Dec: Decrease | Pattern Notes Advanced Beginner Written in US crochet terms Finished Size: About 1” x 3” Gauge: Not necessary Before You Start Worked in continuous rounds. ( ) designates stitch counts [ ] designates round repeats # sc means sc in next # sts. Work over tails and weave in as you go, remaining tail can be simply stuffed inside along with polyfill |
Pattern Instructions
With pink yarn,
Rd 1: 6 sc into MC or ch 2 and 6 sc into 1st ch (6).
Rd 2: Inc in each st around (12).
Rd 3: Scblo in each st around (12).
Rd 4: Sc in each st around (12).
*Change to grey yarn
With grey yarn,
Rd 5: Scblo in each st around (12).
Rd 6: Sc in each st around (12).
*Change to main color
With main color yarn,
Rd 7: Scblo in each st around (12)
Rds 8-12: Sc in each st around [5 rounds] (12).
*Insert eyes or embroider eyes between rounds 8 and 9, about 3 or 4 sts apart.
*Embroider mouth about 2 rounds below the eyes.
*Change to beige yarn
With beige yarn,
Rd 13: Sc in each st around (12).
Rd 14: (Sc 2, Dec) x 3 around (9).
*Change to main color
With main color yarn,
Rd 15: Sc in each st around (9).
Rd 16: (Sc, dec) x 3 around (6).
Finish off leaving 12” tail.
Weave tail through remaining 6 sts, working every other st and pull up firmly to close hole and create pencil point. Insert needle through bottom and work towards to top. Attach to key ring if desired or fasten off. Weave in remaining ends if applicable.
Congratulations, Stubby is complete!
I would love to see your projects on Instagram or Facebook by tagging @owensvillchick or Owens Villa Chick Designs and by using the hashtags #stubby #amicoloredpencil #owensvillachickdesigns #ovcdesigns.
Copyright 2023 OwensVillaChick Designs. ALL RIGHTS RESERVED.
This pattern is for personal use only. Do not sell the written pattern or use the photos in this pattern as your own. You may sell your finished work from this pattern but please give the designer OwensVillaChick Designs credit and link back to my blog.
Check out the amazing work my testers did with their Stubby!


Until Next Time, Happy Yarning!
ETHY

Leave a comment