
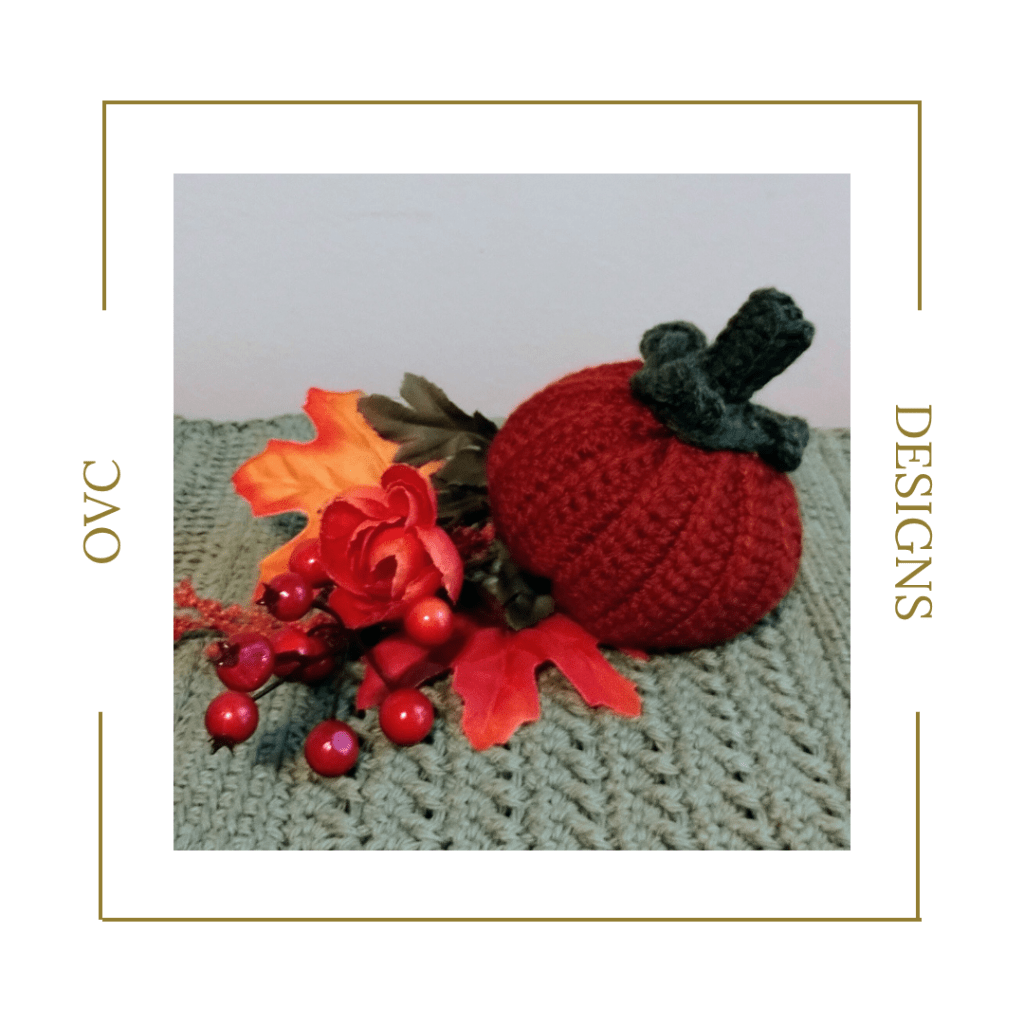
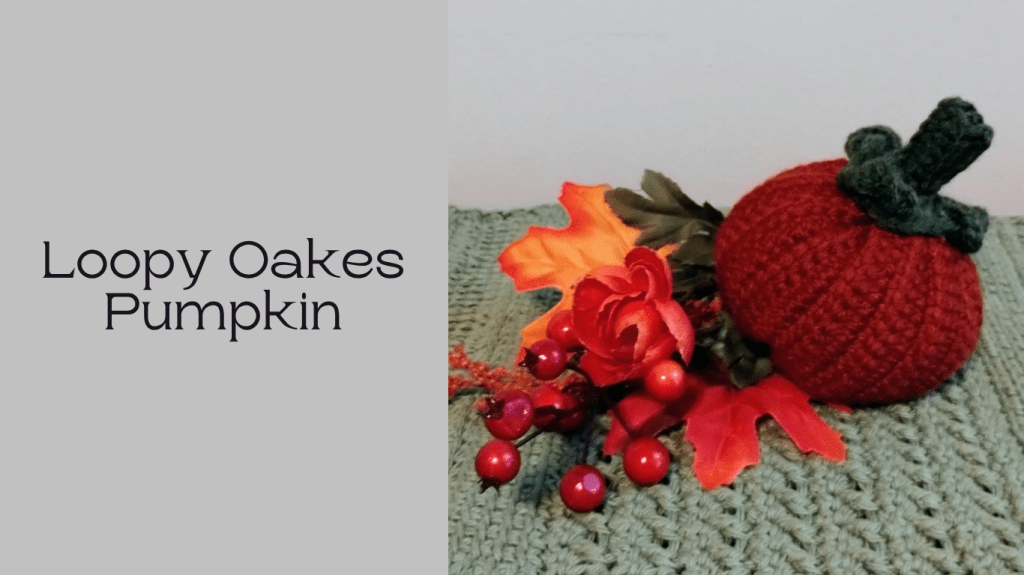
The Loopy Oakes Pumpkin is full of texture and simplicity, making it fun to make and adding a touch of whimsy to your holiday table decor. The pumpkin is crocheted flat and assembled using the slip stitch and a tapestry needle. The stem and loopy leaves are then crocheted and sewn onto the top of the pumpkin.
This pattern is written here using US crochet terms.
Share

Subscribe to OVC Designs!
Get updates on the latest posts and more from OVC Designs straight to your inbox.
Skill Level
Advanced Beginner. Uses simple, common stitches and techniques. Special Instructions are given for the linked double crochet stitch. A photo tutorial for the loopy leaves is included in the tutorials section of the pattern pdf.
Recommended Yarn
Worsted #4 weight yarn, approximately 75 yards for pumpkin body and 25 yards for stem & leaves.
Hooks & Other Materials
- US Size 4 mm hook
- #4 worsted weight yarn
- Poly-fil stuffing
- Yarn Needle
- Stitch Marker
- Scissors
Subscribe to OVC Designs!
Get updates on the latest posts and more from OVC Designs straight to your inbox.
Sizes/Finished Measurements
Size is approximately 4″ x 4″ and may vary slightly based on your crochet tension.
Abbreviations
Ch(s) Chain(s)
Blo Back Loop Only
Hdc Half Double Crochet
Ldc Linked Double Crochet (see special stitches)
Sc Single Crochet
St(s) Stitch(es)
Yo Yarn Over
Notes
- The pumpkin body is worked in rows, then joined.
- The stem and leaves are worked in joined rounds.
- Ch 1 does not count as a stitch.
Gauge
17 stitches and 9 rows = 4″
Special Stitches/Techniques
For 1st LDC Stitch: ch 2, insert hook into 2nd
chain from hook and pull up a loop, insert
into next st, pull up a loop, Yo, pull through
two loops, yo, pull through two loops.
For subsequent LDC stitches: insert the
hook under the horizontal bar of the last
stitch made, pull up a loop, and then insert
the hook in the next available chain or stitch,
pulling up another loop. Yo, pull through two
loops, yo, pull through two loops.
Subscribe to OVC Designs!
Get updates on the latest posts and more from OVC Designs straight to your inbox.
This pattern has been tested for errors by a team of crocheters with varying skill ability, this helps to ensure the pattern is free of errors, but should you find any errors or run into difficulties please reach out to me so I can help.
NOTE ON SELLING ITEMS AND COPYRIGHT: The pattern and all images are Copyright Owensvillachick Designs, all rights reserved. You may not copy any part of this pattern or use photos without permission. You may sell finished items (handmade in small quantities by you). Designs credit is appreciated (tag on social media or link to this post). Thank you.
2025 Table Decor Blog Hop

As part of the Table Decor Blog Hop hosted by Sandra Stitches, the Loopy Oakes Pumpkin is available as a free download on November 8th, 2025.
Click on the Coupon Code button to apply at checkout.

Click on the Ravelry button to go to store and get your free download.

Please share the link and pin it! And show me if you make it, I’d love to see. Tag me on social media.
LOOPY OAKES PUMPKIN PATTERN INSTRUCTIONS
Pumpkin Body
Ch 21, turn.
Row 1: Sc in 2nd ch and each ch across, turn. (20 sc)
Row 2: Ch 2, LDC blo in each st across, turn. (20 LCD blo)
Row 3: Ch 2, LDC in each st across, turn. (20 LDC)
Rows 4-29: Repeat rows 2-3.
- Ensure you end on an LDC row, not an LDC in the back loop only row, to have the right side
facing after the seam.
Joining body of pumpkin
*Fold right sides together (the lines created from the linked stitches in the back loop only will
be facing out) and slip stitch the last row to row 1. Fasten off leaving a long tail for closing.
Closing bottom of your pumpkin
Turn inside out and use needle and long tail to weave in and out of rows.
Weave yarn in and out of rows 2 or 3 more times, pulling yarn after each to achieve the desired
closure.
*Stuff pumpkin with poly fill or desired alternative stuffing until nearly full.
Closing top of your pumpkin
Use needle and long tail to weave in and out of rows.
Add more stuffing if desired prior to closing.
Weave yarn in and out of rows 2 or 3 times, pulling yarn after each to achieve desired closure.
Pull closed and weave in end.
To create segments
Use a length of yarn four or five times the circumference of your pumpkin.
Lay down the yarn and center the pumpkin on top of it.
Take both ends of the yarn and pull up tightly around the pumpkin to create the first two
indentations. Secure the two ends together at the top with 2-3 knots.
Rotate and flip the pumpkin over, repeat as many times as you desire, placing indentations of
yarn in different spaces each time.
Fasten off and weave in any remaining ends.
Stem
1: Ch 7, scblo in 2nd chain from hook and each of the next chs. (6)
2: Ch 1, sc blo in each st across. (6)
3-7: Repeat row 2. (6)
Join last row to beginning chain with slip stitch. Turn inside out.
You should have your starting tail on the opposite end of your working tail.
Do not fasten off working tail and place marker as you will continue using to make leaves.
*Stuff stem if desired.
Close the top of the stem using a needle and your starting tail.
Leaves
Turn your work to continue along the ends of your stem rows.
You will be working around the bottom of the stem.
Round 1: Ch 1, 7 sc evenly around, join. (7)
Round 2: Ch 1, 2 sc each st around, join. (14)
Round 3: Ch 1, (sc, 2 sc) repeat around, join. (21)
*For three leaves, skip round 4 and continue with round 5.
*For four leaves, work rounds 4 and 5.
Round 4: Ch 1, (sc, sc, 2 sc) repeat around, join. (28)
Round 5: Ch 1, sl st into 1st st, *(ch 12, sl st into 3rd ch from hook, sl st into each remaining ch, sl
st into next sc) twice, skip next st, insert hook through ch-2 at end of last tail and into next st, yo,
draw loop through all layers and loop on hook, pass 1st tail through loop just created, insert
hook through ch-2 space at end of 1st tail and into next st, yo , draw loop through all layers and
loop on hook, slip st in each of next 3 sc; rep from * ending last rep st, sl st into beginning
ch1 space at the base of the 1st ch 12.
3 leaves = (6 strip loops, 18 ss)
4 leaves = (8 strip loops, 24 ss)
Fasten off, leaving long tail for sewing onto pumpkin.
Using needle, sew stem and leaves onto top of pumpkin.
Weave in ends.
Congratulations, your Loopy Oakes Pumpkin is complete!
I would love to see your projects! Please share them by tagging me @owensvillachick on Instagram or Facebook and using the hashtags #ovcdesigns #owensvillachickdesigns #harlequinclutchbag.
Why not check out my other crochet patterns too. I’d love you to have a look around while you’re here.
Until Next Time, Happy Yarning!
ETHY


Leave a reply to 15 Free Crochet Table Decor Patterns with a Story Blog Hop – Sandra Stitches Cancel reply